Once your scoby and starter arrive here’s a perfect recipe!
STEPHEN LEE’S MASTER PLAIN KOMBUCHA RECIPE
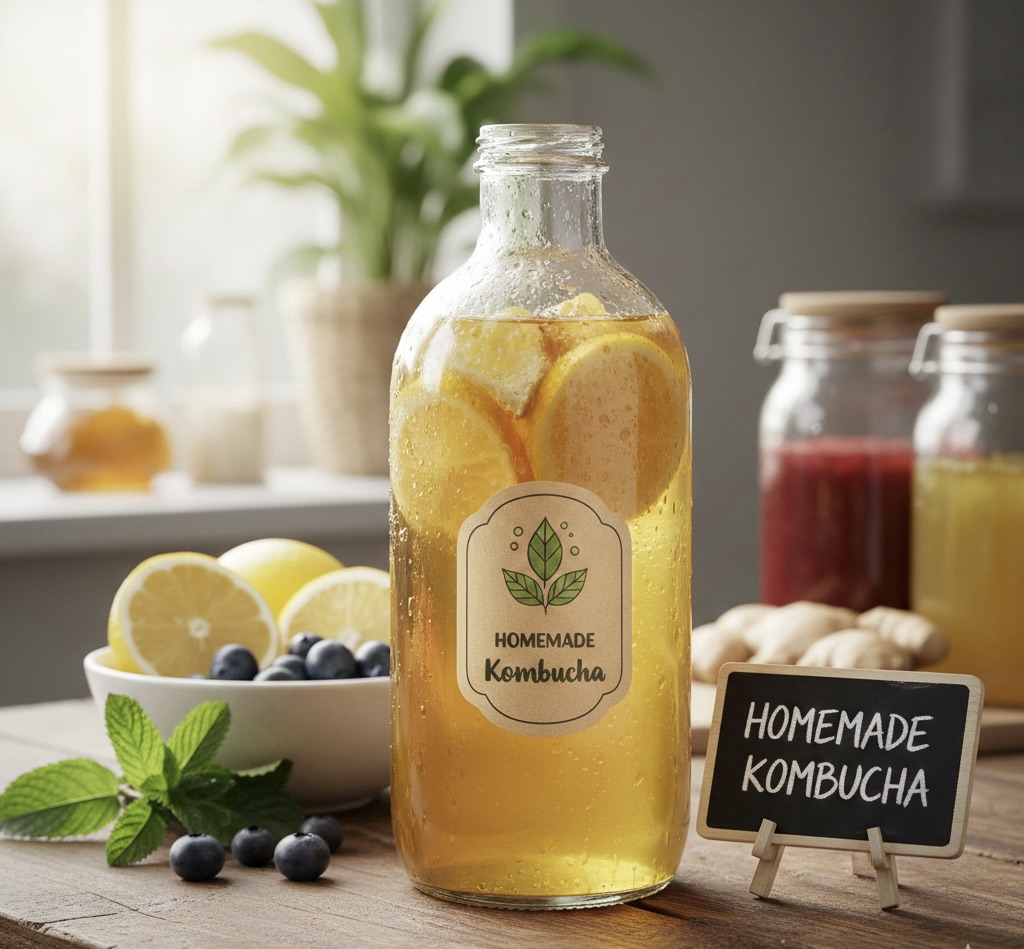
MAKES 1 GALLON
Heat 6 cups of the water to 212°F for black tea, 170°F for green tea, 185°F for oolong over medium heat in a 6-to 8-quart stainless steel pot. Remove the water from the heat and add the tea. Stir well and cover the pot with the lid to keep the steeping temperature consistent, which ensures the best flavor extraction. Steep for 4 minutes for black and green tea; steep for 5 minutes for oolong. Stir once midway through the steeping period. If you have steeped with tea bags, use a spoon or tongs to remove the bags. If you have used loose-leaf tea, pour the tea through a colander or fine mesh strainer into second pot. Compost the tea leaves.
INGREDIENTS
14 cups purified water
16 to 20 tea bags; or, 8 tablespoons loose-leaf black tea or green tea, 6 tablespoons balled oolong tea, or 10 tablespoons loose open-leaf oolong tea
1 cup evaporated cane sugar
2 cups starter tea
1 or 2 SCOBYs
Add the sugar to the brewed tea and stir until dissolved. Add the remaining 8 cups of water. Stir. This trick reduces the temperature quickly. Be sure the tea has cooled to room temperature (72°F or cooler), as adding a live kombucha culture to water hotter than 72°F can harm the culture.
Add the starter tea and stir. Pour the entire batch of kombucha tea into the 1-gallon jar or divide it between two smaller jars. With rinsed hands, carefully lay your SCOBY on the surface of the tea To divide a first-use SCOBY between two jars, separate by layers if you can, peeling them apart into two thinner round SCOBYs. If your original SCOBY is fused so that you cannot separate by layer, simply cut the SCOBY in half into two half circles with a sharp knife. It should float at the surface at least 1 inch below the rim of your jar to create enough breathing room that the SCOBY doesn’t touch the cover. If there is too much tea, draw some off with a small cup and discard. If the SCOBY sinks, don’t fret. All will be fine. Cover the opening of the jars) with a clean cotton cloth and hold it in place with a rubber band. Place your jar in a warm spot (72°F to 78°F) and leave your kombucha undisturbed to ferment for 7 days. A closet or closed room works best. Do not store in direct sunlight.
After a week, taste your kombucha. The easiest way to get a taste without greatly disturbing the SCOBY is to slip a straw down the inside of the jar between the glass and the edge of the SCOBY. Have a sip. Does it taste too sweet? Let it go a few more days before tasting again. Is it sufficiently tart and you love it?Great! Time for the next step.
Carefully remove the SCOBY with rinsed hands. You will now have the original and the new baby, which has grown on top of the mother culture. Place them on a clean porcelain or glass plate or bowl bathed in kombucha. They will be the cultures for your next batch, which you can either start right away, you can put your SCOBY to rest for a while If you wish, you can gently inse the SCOBY under cool water to remove any yeast strands. Reserve about 2 cups of the finished kombucha for the starter tea for your next brew. You can use this starter tea immediately if you are starting your next brew or you can tore it in the refrigerator for up to 10 days, bringing it to room temperature before its next use. (Keep in mind that a strong starter tea can affect the flavor of your next batch of kombucha.)
Now you’re ready to bottle. Fill your bottles with the kombucha tea using a spouted measuring cup (for an easy pour) and a plastic funnel, leaving about 1 inch of air space in the neck of the bottle. Some brewers prefer to use a fine-mesh strainer as they bottle to filter out yeast strands and small particles of tea. Cap tightly. If you prefer a flat kombucha-drinkable, but not crisp and dry like bubbly kombucha -then refrigerate immediately after brewing, and the fermentation process will cease (no more bubbles). For those who prefer a bubbly kombucha beverage, you will want to proceed with the secondary fermentation process. Instead of refrigerating your recently brewed kombucha, set the capped bottles aside in a warm, dark, undisturbed spot. A general rule of thumb is to store the bottles in a place where the temperature ranges between 72°F to 78°F. Note that the fermentation process will accelerate at higher temperatures. The critical piece is knowing how long to allow your bottled kombucha to continue fermenting before stopping the process through refrigeration. This is dependent on many factors-many of which are out of your control, such as the amount of sugars left at the bottling step or the type of tannins in the original tea. This is where your ongoing experience plays a part, and it helps to take good notes to refer back to what did and what did not work.
If you like your kombucha on the less sweet side, leave the bottles in the secondary fermentation process a bit longer, because the longer the fermentation process, the more sugar is “eaten.” Usually, wait 48 hours, and then pop one in the refrigerator to chill for at least 6 hours. (A warm bottle will always be too bubbly and often explosive.) Crack it open. Pour into a glass. If it effervesces, you’ve done it! Chill the remaining bottles to stop the secondary fermentation process. If you want more carbonation, let it go for a few more days and test again with another chilled bottle.Creating a bubbly kombucha is one of the trickiest steps in the process. If it takes a few batches to get it right, consider this your “on-the-job” training to become a home brewing expert. Remember, kombucha without bubbles has the same health-promoting properties as champagne-like kombucha. Kombucha generally has a long shelf life due to its naturally protective low pH. In fact, I know of brewers who have stored their raw kombucha for years, drank it, and it was fine. I would advise storing raw home brew under refrigeration, as continued fermentation in the bottle without refrigeration can result in an exploding bottle, if the bottle is not made of pressure-capable glass.